• Skip to primary navigation
  • Skip to main content
  • Skip to primary sidebar
  • Skip to footer

Kimberly Layton

Blogger.

  • Shop

Popular

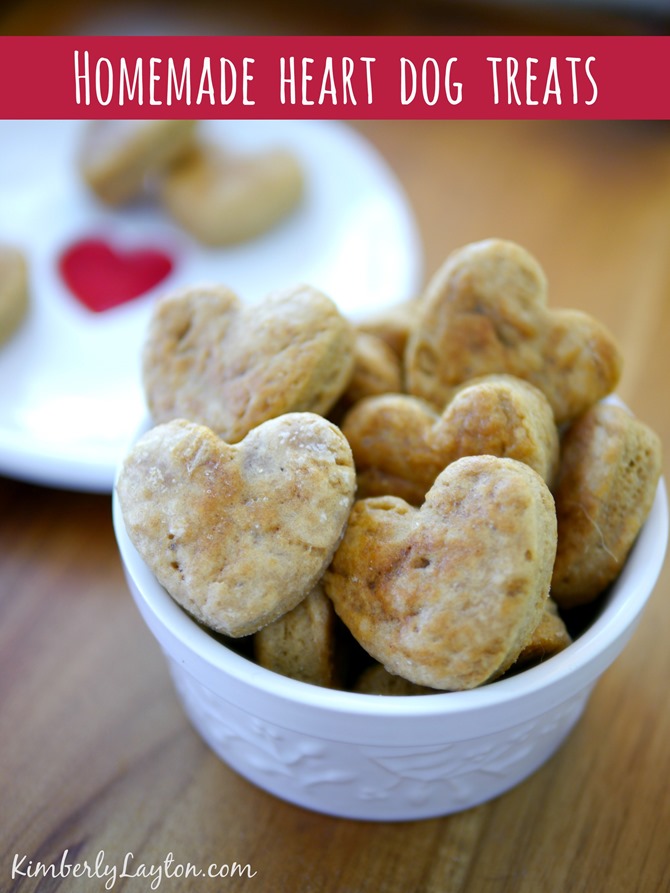
Homemade Heart Dog Treat Recipe

January 31, 2015 By Kim

Homemade Heart Dog Treat Recipe - KimberlyLayton.com

Pamper your pets with some homemade dog treats!

We are those crazy dog people…you know the ones.  We seriously love our dogs and consider them part of the family.

We live right by a cute little doggie boutique that sells homemade treats, but they can really be quite pricey.  I knew I could make my own much cheaper.

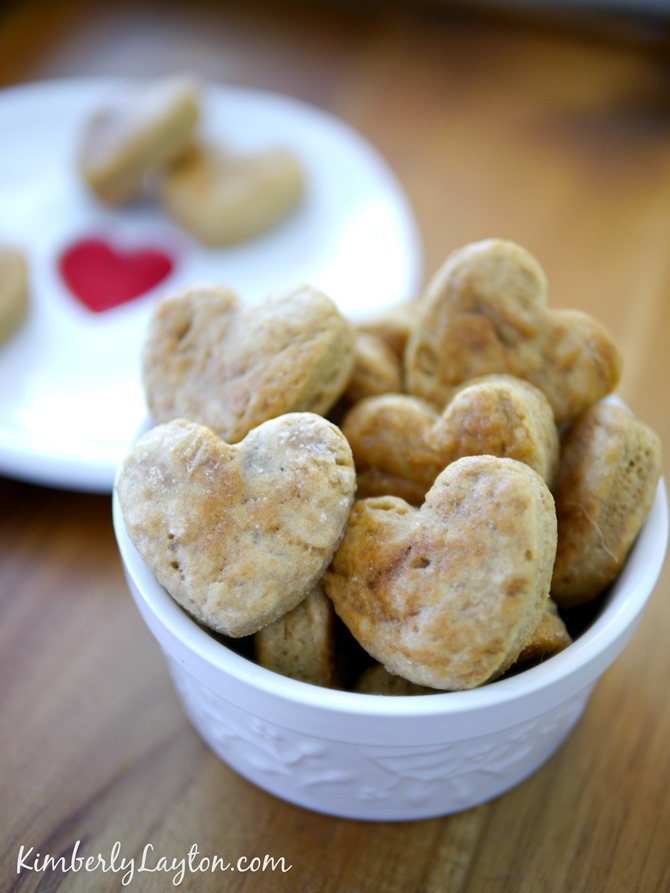
I LOVE the way these turned out and I plan on making them on a regular basis.  At least I’ll know exactly what they’re eating, and they jump up and down for them so I’m pretty sure that means they’re yummy!

Sherlock - KimberlyLayton.com

Here’s are newest puppy…Sherlock.  We adopted him from a shelter.  He’s so amazing I can’t even express it with words.  So, we spoil him with lots of hugs, walks, car rides and treats.

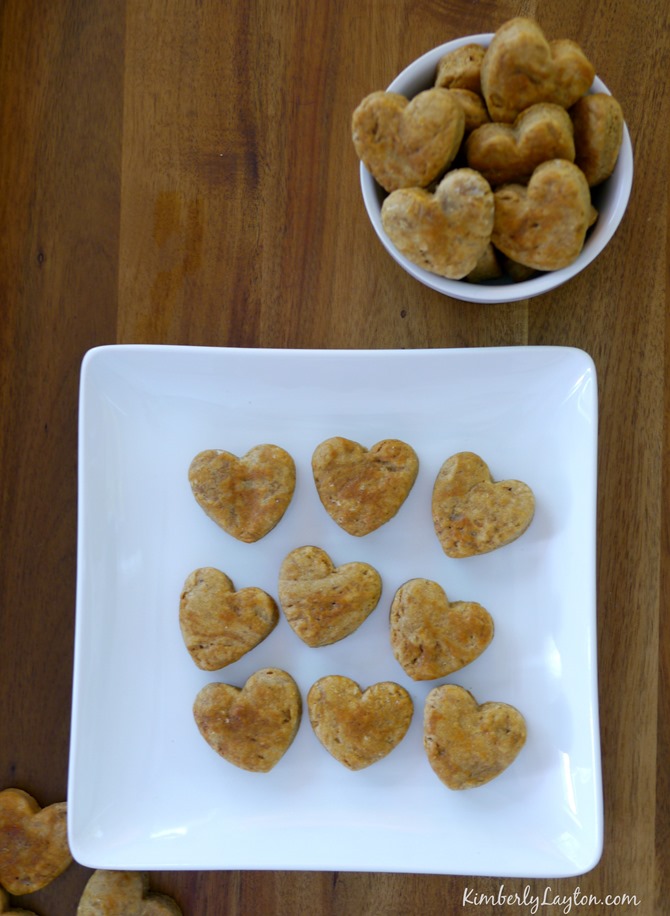
Homemade Dog Treats - Peanut Butter Hearts - KimberlyLayton.com

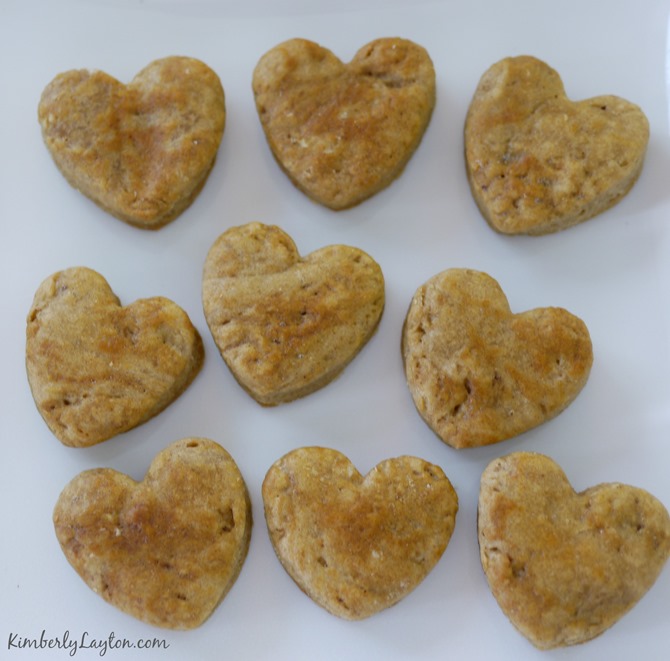
These smell just like peanut butter cookies as you bake them.  My boys always think I’m making them something…ha!

Homemade Dog Treat Recipe - KimberlyLayton.com

Homemade Peanut Butter Dog Treat Recipe

Ingredients:

  • 3/4 cup reduced fat milk
  • 2 eggs
  • 1 cup peanut butter {smooth}
  • 2 1/2 cup all purpose flour
  • 1 tablespoon of baking soda

Preheat your oven to 325 degrees.

Whisk the milk, one egg and peanut butter together in a large bowl.

Add the flour and baking soda to create a lovely dough.  You may need to use your hands to work in all the flour.

Flour a surface to roll out your dough.  Cut out shapes like dogs, bones or make mini circle peanut butter cookies for small dogs.  1/4” thickness is awesome…but a little thicker works.

Make a quick egg wash by whisking together one egg and a couple teaspoons of water.  Brush a thin coat on your dog treats before putting them in the oven.

I used an Airbake Insulated Cookie Sheet and parchment paper while baking. {These are two of my favorite things!}  They equal perfect baking and no mess…that works!

Bake 15 minutes on one side and flip to bake 10 more minutes on the other side. {Don’t forget to brush on egg wash before baking!}

Remove and cool.

Store them in an airtight container for a week or in the freezer for up to 2 months.

Make Homemade Dog Treats - Recipe at KimberlyLayton.com

Now you have no excuse for not making homemade treats for your furry friends.  They’re super easy and bake fast!

Have you ever made your own dog treats?

~Kim

Looking for more DIY pet ideas?  Check out these…
  • 25 DIY Gifts for Pet Lovers
  • 7 Handmade Gifts for Dogs

Filed Under: DIY, Popular Tagged With: diy dog treats, diy gift, dog treat, dog treat recipe, homemade dog treats, recipe

Fried Shrimp Recipe {Beer Battered}

October 29, 2014 By Kim

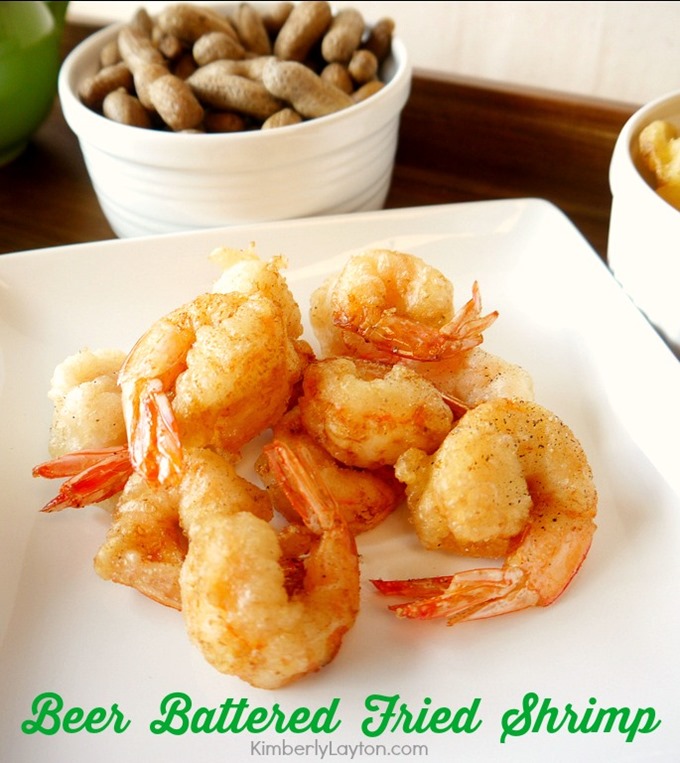
Fried Shrimp Recipe {Beer Battered} by Kimberly Layton

Beer Battered Fried Shrimp has to be one of the best foods in the world!

Shrimp are amazing no matter which way they are cooked, but it’s really hard to beat fried shrimp.  Living in the south you learn a bit about shrimp and which ones are the sweetest, biggest, or best for your shrimp salad or scampi recipe.  There’s a huge difference and my favorite shrimp are always from Key West or Savannah.  Luckily, we’re close to both areas.  We’ve even caught our own shrimp in the Keys!

Now that you know just how serious shrimp are around here, you’ll trust me when I tell you this Southern Beer Battered Shrimp recipe is something you should keep on hand.  This is the best batter ever!

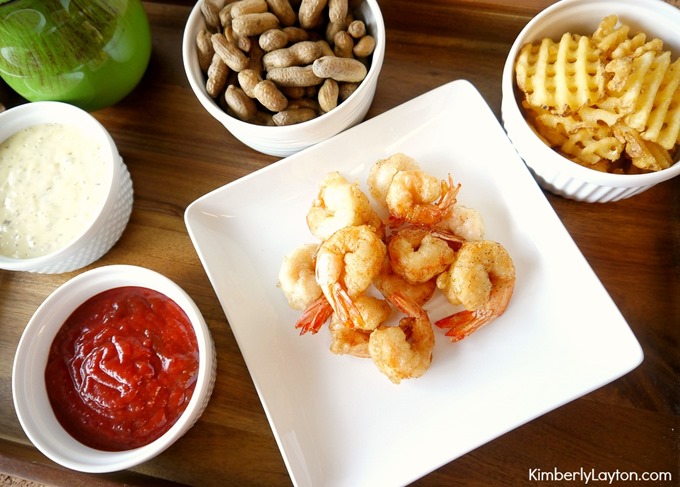
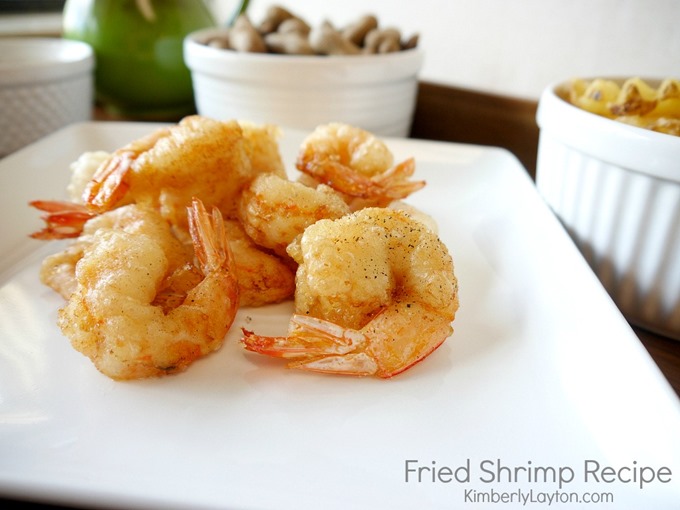
Beer Battered Fried Shrimp Recipe by Kimberly Layton

Here’s a look at what I made the other night for dinner.  It’s a rather traditional type meal around here that reminds us of Sunday Supper at Grandma’s house.  That’s hard to beat, right?!

Fried Shrimp Recipe by Kimberly Layton

I started with about 3 pounds of beautiful Savannah shrimp that Tim’s grandma brought home with her on a trip to visit family in Savannah.  Grandma Shuman usually brings back some type of food…she’s awesome like that.

Here’s what you’ll need for the batter…

  • 1 cup beer
  • 1 cup all-purpose flour
  • salt & pepper to taste

This should give you enough batter for about 1 1/2 pound of shrimp.

Slowly blend the beer into the flour.  Add salt and pepper. 

Now, cover it and let it sit at room temperature for a couple hours.

Prepare your shrimp.  You can drink any leftover beer while you work…you can’t just waste it!

Remove the shell up to the tail.  I usually remove all the legs at the bottom first to make the shell easier to peel off.

Devein your shrimp by using a sharp knife to cut along the back of your shrimp and run it under cold water to wash away and yucky looking stuff.

Repeat this step over and over again.  It always seems to take forever…but it’s worth it!

For a full step-by-step recipe including lots of photos, read my post on HandmadeandCraft.com!

Once your batter is ready and your shrimp are cleaned it’s time to fry them up!

  • Fill up a large pot half way with oil and heat it up to 350 degrees
  • Pat 4-5 shrimp dry with a paper towel…this is a key step!
  • Dip them in your batter and let them drip a second over the bowl
  • Gently drop them in the oil and fry them for 3-5 minutes.
  • Remove them and let them dry a bit on some paper towels
  • Repeat until you’ve fried them all up!

You could use this batter for fish, oysters or anything else.  It’s light and goes perfectly with seafood.

There you have it…the best fried shrimp recipe ever!

Are you a seafood lover?  What’s your favorite?  Shrimp, oysters, lobster? 

For complete step-by-step instructions {with lots of photos} read my blog post on Handmade and Craft!

Enjoy!

~Kim

Filed Under: Food, Popular Tagged With: beer battered, dinner, fried shrimp, recipe, shrimp, southern food

Making Pottery

October 27, 2014 By Kim

Making Pottery on KimberlyLayton.com

Pottery is quickly becoming one of my favorite creative outlets.  There’s something about taking nothing, just some lump of clay, and turning it into something that will last for generations.  That gets me.

Simple bowls can be used in decorating, cooking, entertaining…it’s endless.

Making Pottery by Kimberly Layton

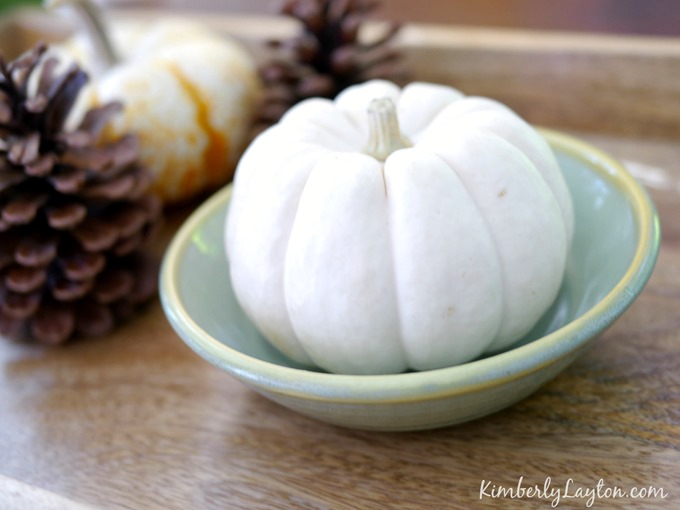
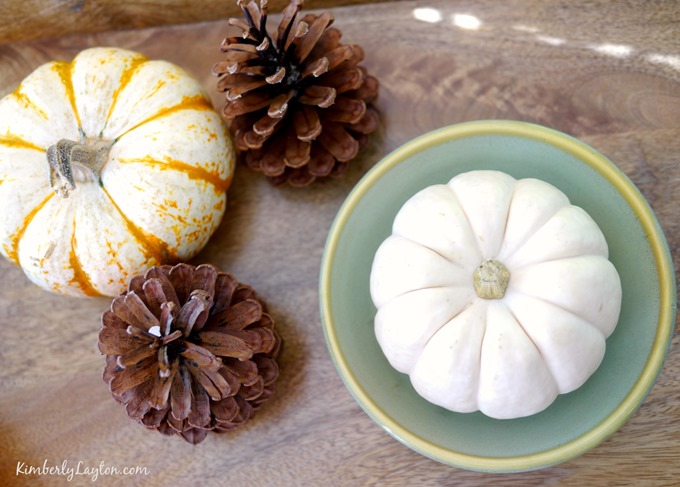
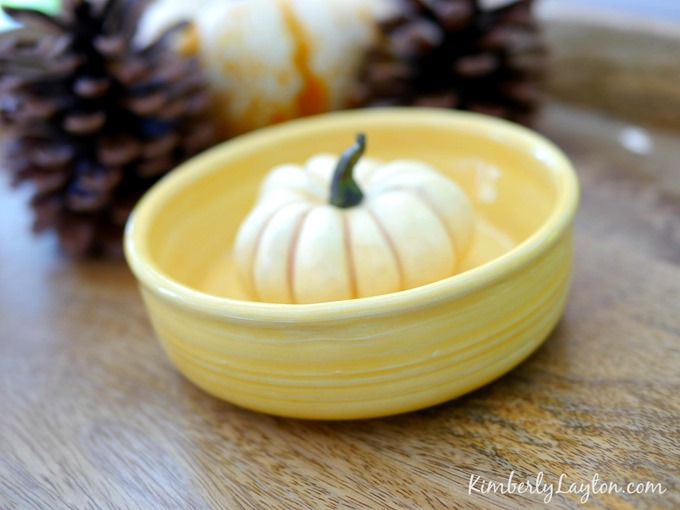
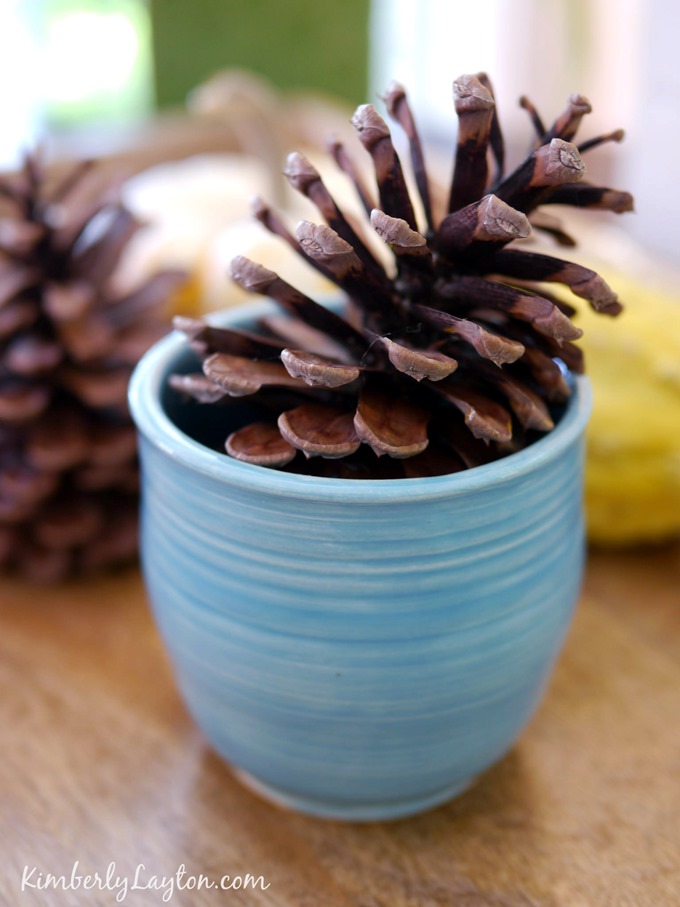
Right now I’m decorating with a little touch of fall in different areas of my house, and I’m mixing in some of my pottery for fun.

Pottery by Kimberly Layton

This yellow bowl gets so much use around here.  Wait until you see it with limes all stacked up in it…just beautiful!

Pottery Made by Kimberly Layton

What’s your favorite creative crush right now?  Crochet?  Painting?  Photography?

I’d love to hear about it!

~Kim

Filed Under: Lifestyle, Popular Tagged With: decorating, handmade, hobbies, pottery

How to Make Lavender Sachets

October 22, 2014 By Kim

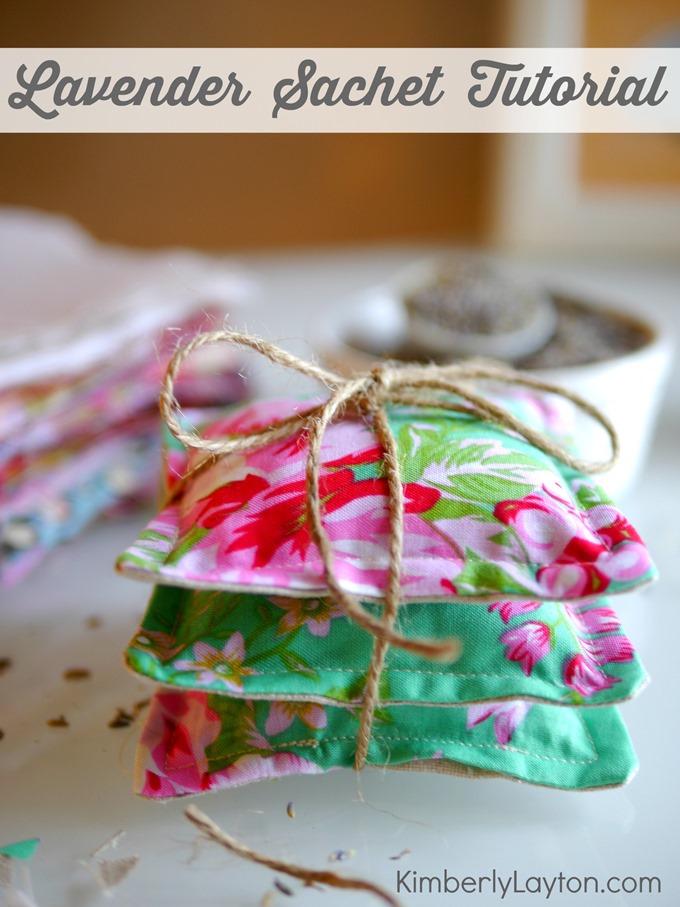
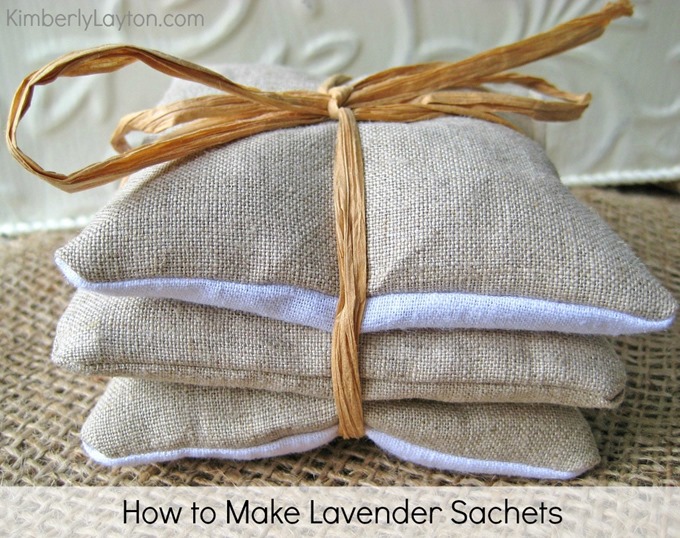
Lavender Sachet Tutorial by Kimberly Layton

Lavender sachets are one of my all-time favorite handmade gifts to share.  They can be made to match anyone’s style from modern to vintage, and they are the perfect way to use up small fabric scraps or your favorite fat quarter.  These lavender sachets were featured in the beautiful Mollie Makes Magazine! 

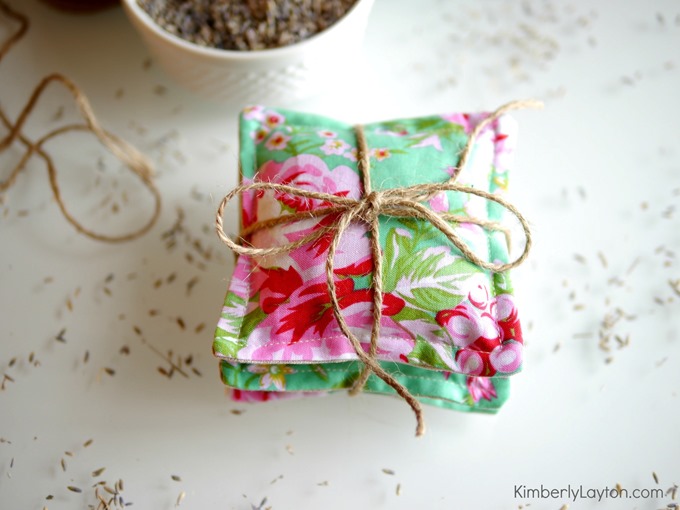
How to make lavender sachets by Kimberly Layton

I sold hundreds of lavender sachets through my Etsy shop one year.  They were very popular for weddings and Mother’s Day.  I’ve always given them as Christmas gifts, and I always enjoy the process of making them.

The whole house smells amazing and you can mix up the fabric to create pretty, pretty sachets.

Learning how to make lavender sachets by Kimberly Layton

Here’s how I make them…

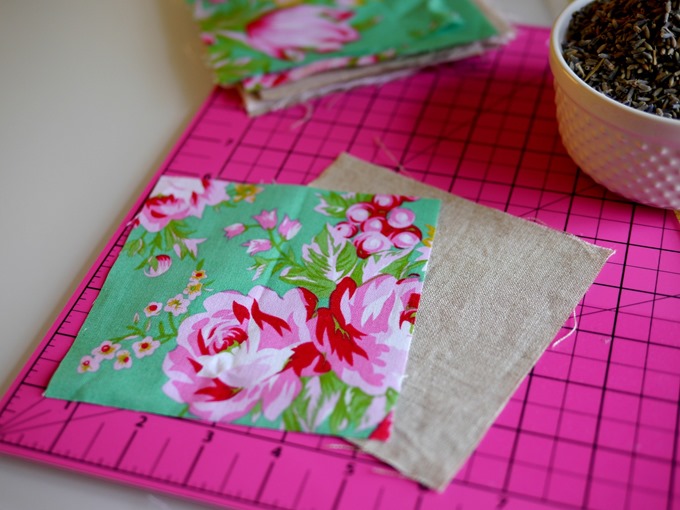
  • Cut 5” fabric squares {I usually cut a bunch at once}
  • Stack two squares with the right side facing inside.
  • Start sewing about 3/4 of the way down one side and continue around until you have a couple inches left and backstitch with your machine.  You want to leave a big enough opening to work with, so sew slowly.
  • I sew about 1/8” to 1/4” in from the edge.
  • Cut the corners off carefully. This helps the corners look nice when it’s finished.
  • Flip the sachet to show the right side of the fabric on the outside.
  • Flatten a bit and make sure your corners are nice by using your finger to push on the corners from the inside.
  • Sew around the edge again leaving the opening the same size.
  • I roll up some cardstock to use as a funnel and add my dried lavender using a little scoop.  {You can buy dried lavender right here on Amazon.}
  • Be sure not to add too much or it will be hard to sew closed!!
  • Shake your sachet to settle the lavender and then hold it carefully while you sew up the opening.

For the complete step-by-step tutorial on making lavender sachets {with tons of photos} read my post on EverythingEtsy.com!

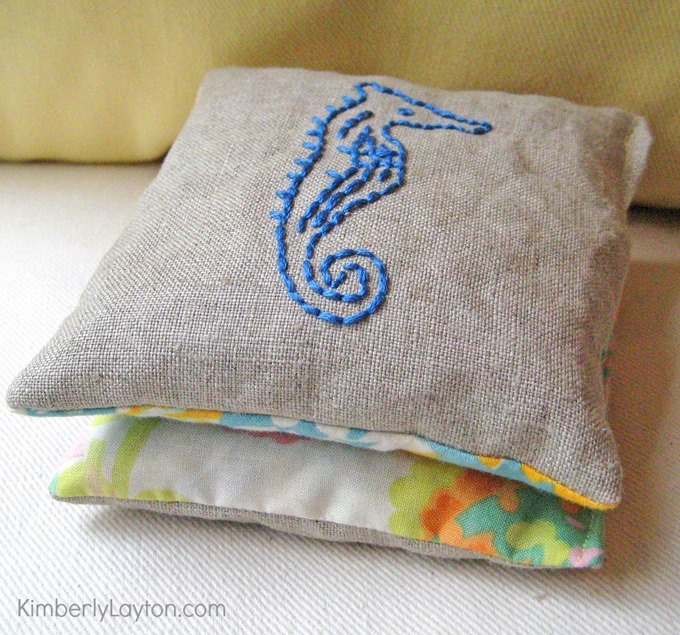
Seahorse Sachets by Kimberly Layton

Embroider or stamp designs on the fabric before sewing them for a custom creation.

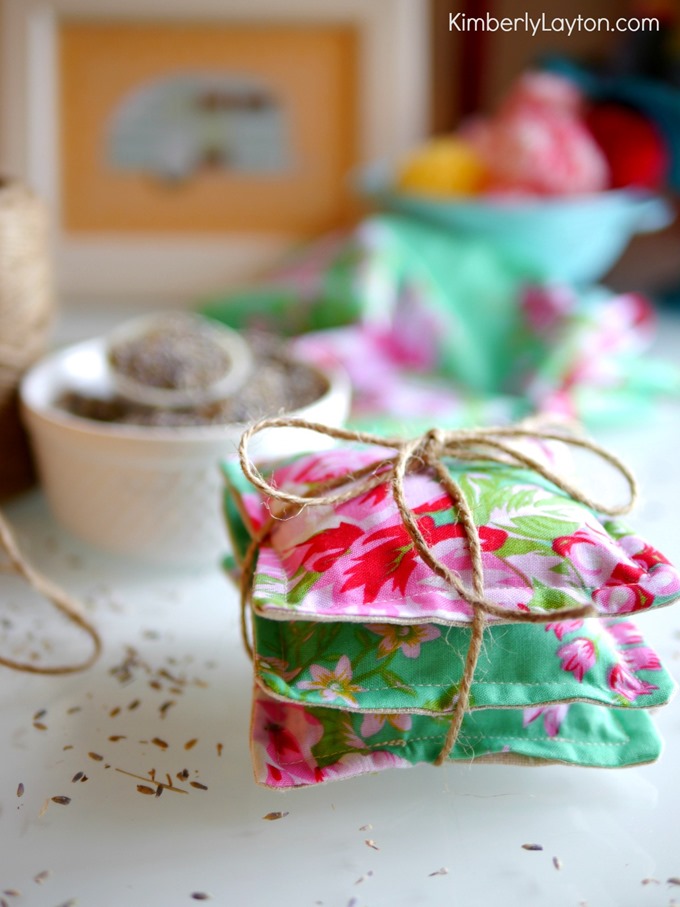
Handmade Lavender Sachets by Kimberly Layton

Once you start making these you will want to make a ton!  I have them all over the house and in my closets.  I’ve thrown them in the car…they make it smell wonderful!

You can make small ones to throw in the dryer.  Your clothes will have a nice light scent.  I’ve used them up to 10 times in my dryer.

making lavender sachets by Kimberly Layton

I hope you’ll make some soon!

For the complete step-by-step tutorial on making lavender sachets {with tons of photos} read my post on EverythingEtsy.com!

Have fun!

~Kim

Filed Under: DIY, Popular Tagged With: diy gift, diy lavender sachet, gifts for her, handmade, homemade, sewing tutorial, tutorial

Primary Sidebar

Hi, I’m Kim!

Welcome to my blog about all things creative, Business Bliss Society, southern food, pottery and lots pretty things.

Don't forget to join my private Business Bliss Society group on Facebook!

For crafty posts and Etsy business tips check out my blog here... EverythingEtsy.com

  • Facebook
  • Instagram
  • Pinterest
  • Twitter

Subscribe Here:

Essential Oils Social Media Kit How to Start a Blog EverythingEtsy.com Start Selling Essential Oils Tutorials Gallery RemodelingGuy.net

Categories

Archives

Footer

Connect

I love to get to know my readers so leave me a comment on any post and you KNOW I'll get it!

I'm also at EverythingEtsy.com every day and HandmadeandCraft.com as well as a few other scattered places.

Feel free to contact me at Kim@KimberlyLayton.com!

  • Facebook
  • Instagram
  • Pinterest
  • Twitter

Copyright © 2025 · Kimberly Layton · All Rights Reserved · Contact Me | Privacy