• Skip to primary navigation
  • Skip to main content
  • Skip to primary sidebar
  • Skip to footer

Kimberly Layton

Blogger.

  • Shop

tutorial

St. Patrick’s Day Crochet Shamrock Pattern & Video Tutorial

March 5, 2020 By Kim

St. Patrick’s Day Crochet Shamrock Pattern & Video

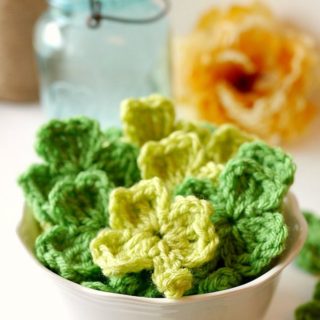
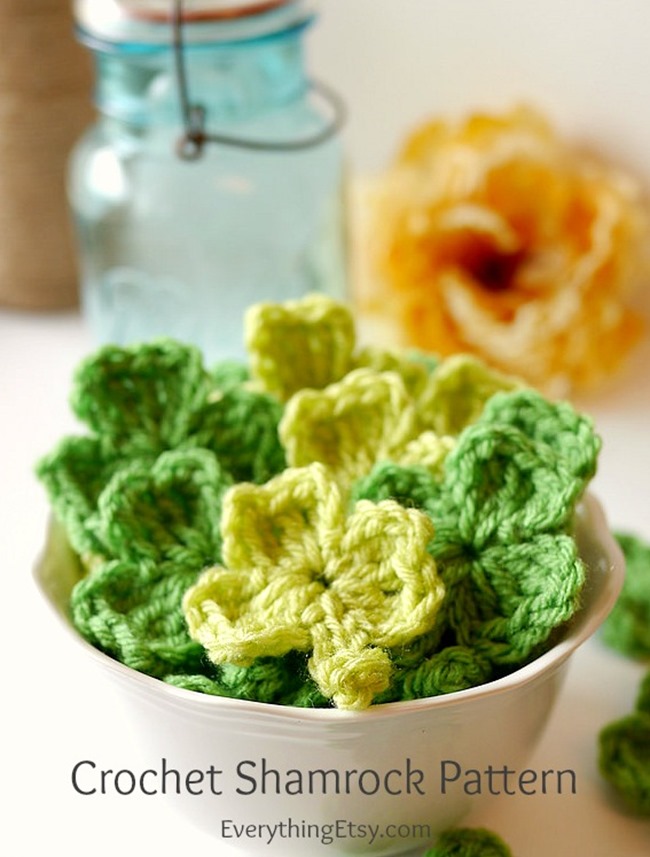
Create a batch of crochet shamrocks this St. Patrick’s Day!  This simple shamrock crochet pattern will have you decorating your whole house and sharing a little luck with your friends and family.  Just follow the pattern or watch the video tutorial and you’ll have a pretty bowl of shamrocks  in no time flat!

Click here for the Crochet Shamrock Pattern & Video Tutorial!
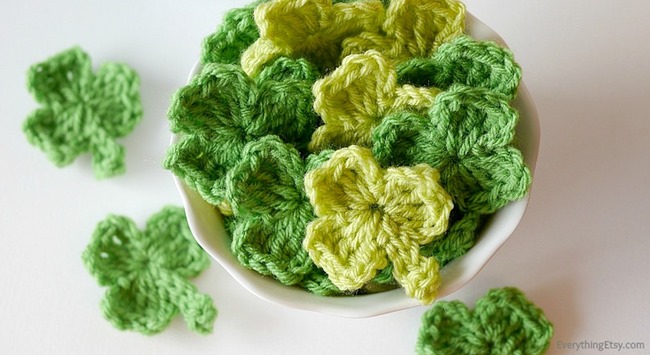
Once you start it’s hard to stop making them!

You can make this in minutes…
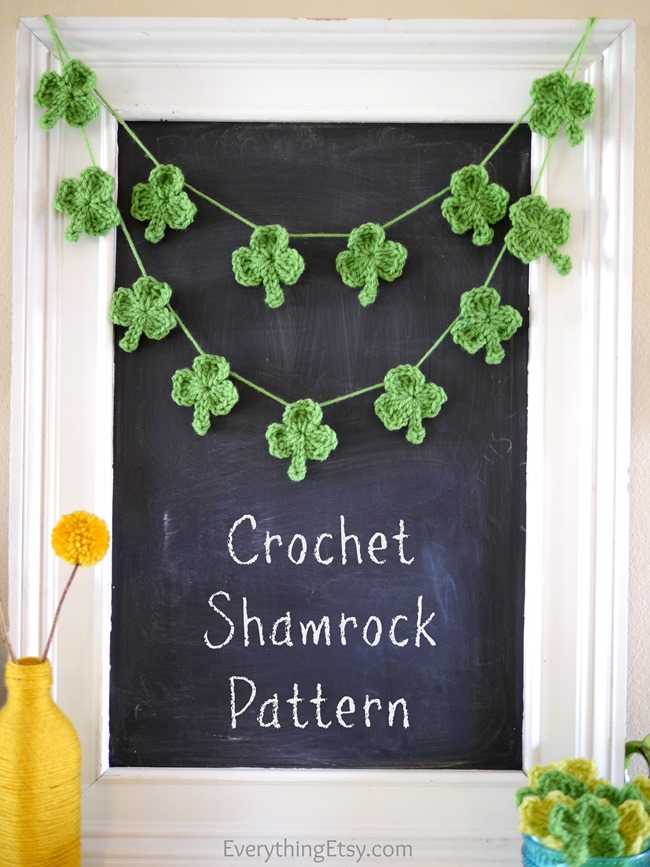
Crochet Shamrock Banner

Just string them together to create a sweet little holiday banner that you can hang anywhere.  What a fun little project!!

Happy St. Patrick’s Day!

~Kim
Filed Under: Crochet, DIY, Featured Tagged With: crochet pattern, crochet video, DIY, diy decor, free crochet pattern, free pattern, holiday, shamrock, shamrock banner, st. patrick's day, tutorial

How to Make Lavender Sachets

October 22, 2014 By Kim

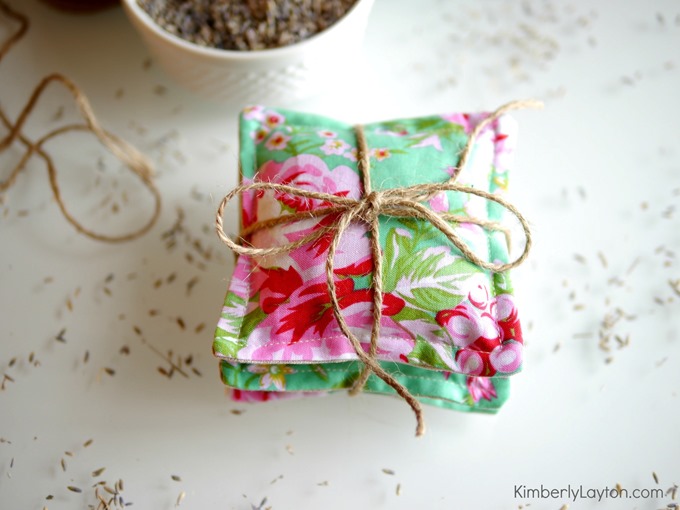
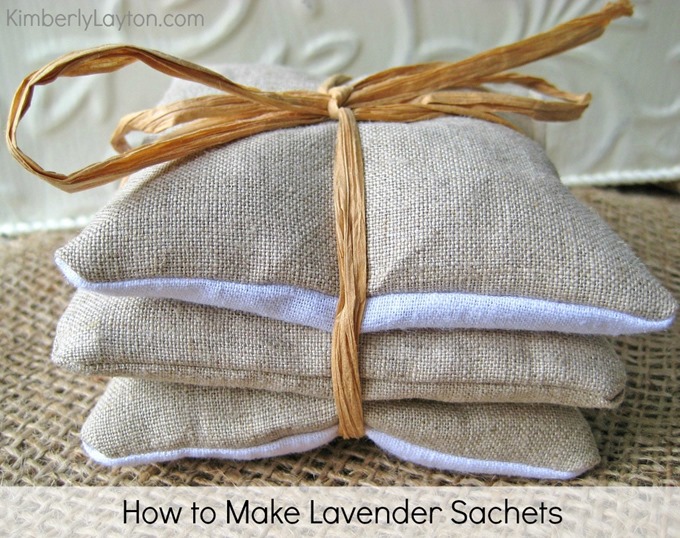
Lavender Sachet Tutorial by Kimberly Layton

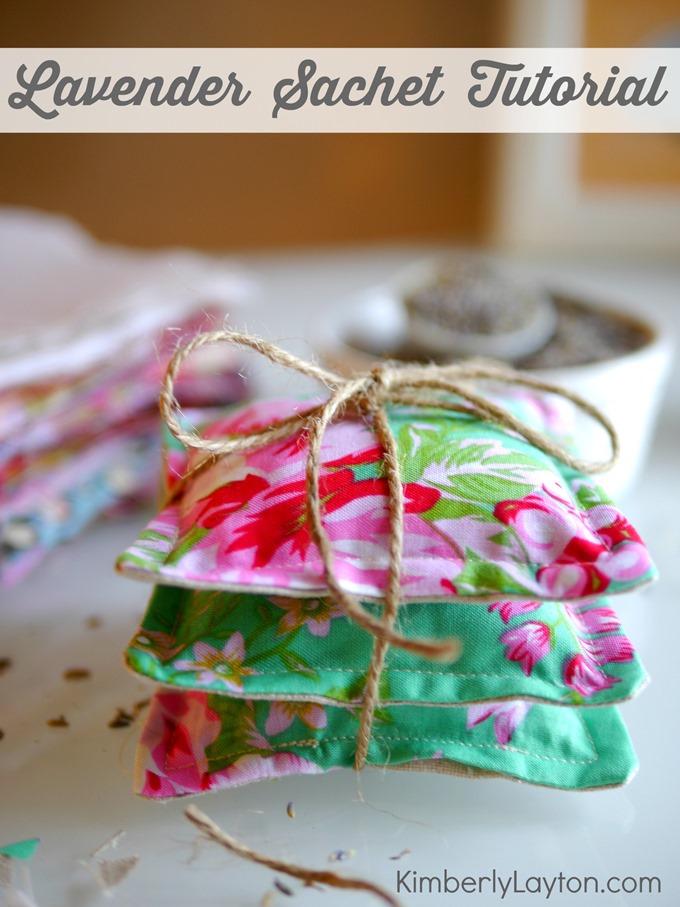
Lavender sachets are one of my all-time favorite handmade gifts to share.  They can be made to match anyone’s style from modern to vintage, and they are the perfect way to use up small fabric scraps or your favorite fat quarter.  These lavender sachets were featured in the beautiful Mollie Makes Magazine! 

How to make lavender sachets by Kimberly Layton

I sold hundreds of lavender sachets through my Etsy shop one year.  They were very popular for weddings and Mother’s Day.  I’ve always given them as Christmas gifts, and I always enjoy the process of making them.

The whole house smells amazing and you can mix up the fabric to create pretty, pretty sachets.

Learning how to make lavender sachets by Kimberly Layton

Here’s how I make them…

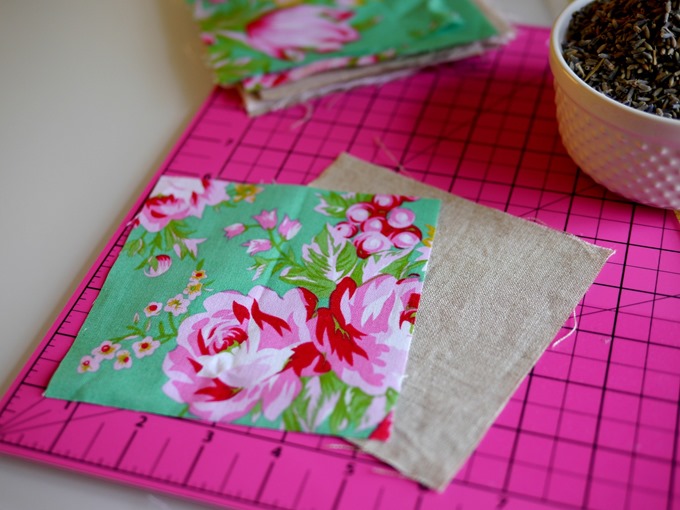
  • Cut 5” fabric squares {I usually cut a bunch at once}
  • Stack two squares with the right side facing inside.
  • Start sewing about 3/4 of the way down one side and continue around until you have a couple inches left and backstitch with your machine.  You want to leave a big enough opening to work with, so sew slowly.
  • I sew about 1/8” to 1/4” in from the edge.
  • Cut the corners off carefully. This helps the corners look nice when it’s finished.
  • Flip the sachet to show the right side of the fabric on the outside.
  • Flatten a bit and make sure your corners are nice by using your finger to push on the corners from the inside.
  • Sew around the edge again leaving the opening the same size.
  • I roll up some cardstock to use as a funnel and add my dried lavender using a little scoop.  {You can buy dried lavender right here on Amazon.}
  • Be sure not to add too much or it will be hard to sew closed!!
  • Shake your sachet to settle the lavender and then hold it carefully while you sew up the opening.

For the complete step-by-step tutorial on making lavender sachets {with tons of photos} read my post on EverythingEtsy.com!

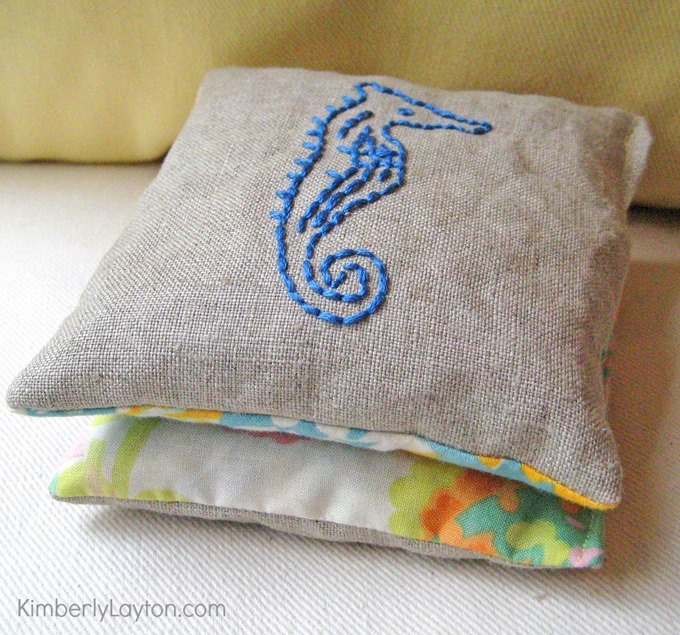
Seahorse Sachets by Kimberly Layton

Embroider or stamp designs on the fabric before sewing them for a custom creation.

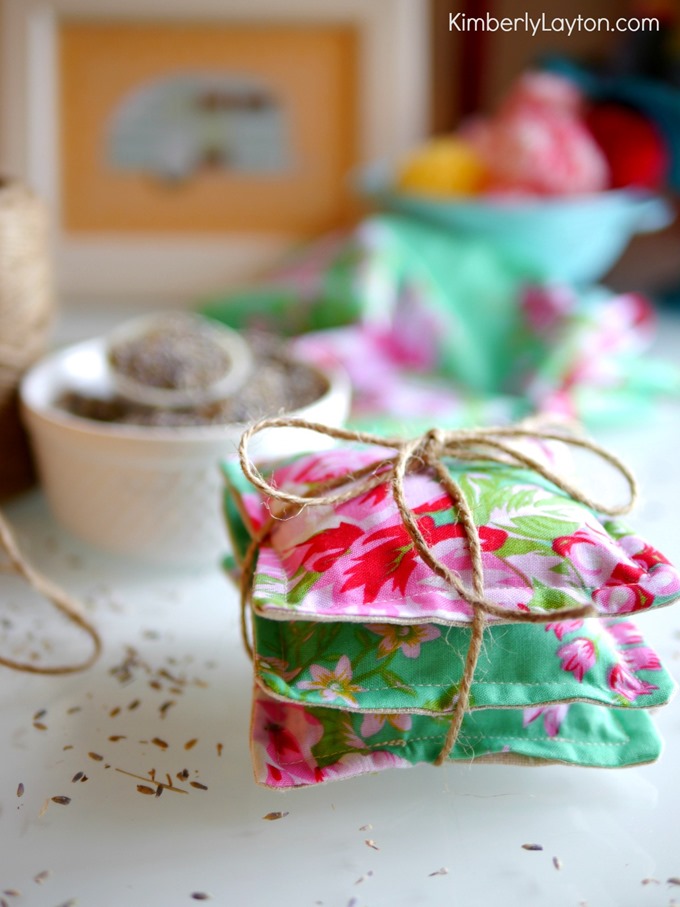
Handmade Lavender Sachets by Kimberly Layton

Once you start making these you will want to make a ton!  I have them all over the house and in my closets.  I’ve thrown them in the car…they make it smell wonderful!

You can make small ones to throw in the dryer.  Your clothes will have a nice light scent.  I’ve used them up to 10 times in my dryer.

making lavender sachets by Kimberly Layton

I hope you’ll make some soon!

For the complete step-by-step tutorial on making lavender sachets {with tons of photos} read my post on EverythingEtsy.com!

Have fun!

~Kim

Filed Under: DIY, Popular Tagged With: diy gift, diy lavender sachet, gifts for her, handmade, homemade, sewing tutorial, tutorial

DIY Hand Stamped Necklace

October 21, 2014 By Kim

DIY Hand Stamped Necklace Tutorial by Kimberly Layton

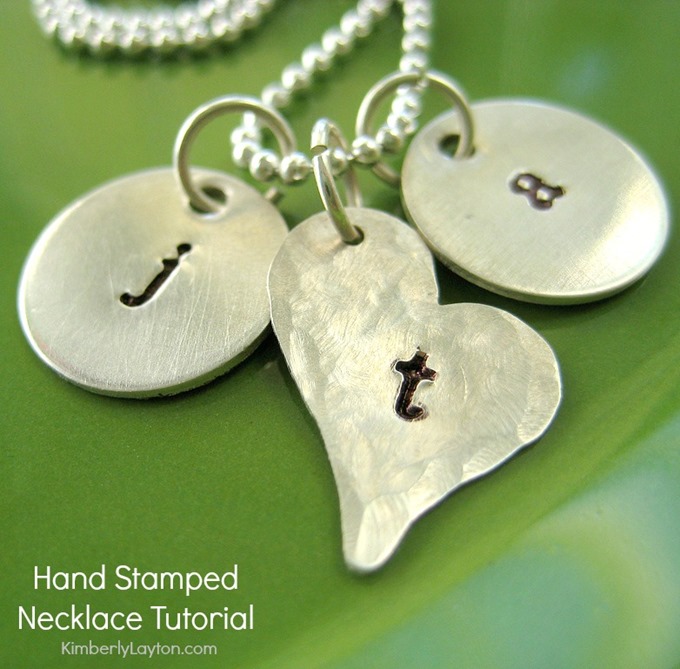
There’s something so special about a handmade gift like these sterling silver hand stamped necklaces.  I have always loved a sentimental gift or two, that’s for sure.

Create one for a grandma with grandchildren’s initials.  Make one for yourself with your initial to wear daily.  Stamp up one for a new mom.  There are so many great ideas for these DIY hand-stamped necklaces!

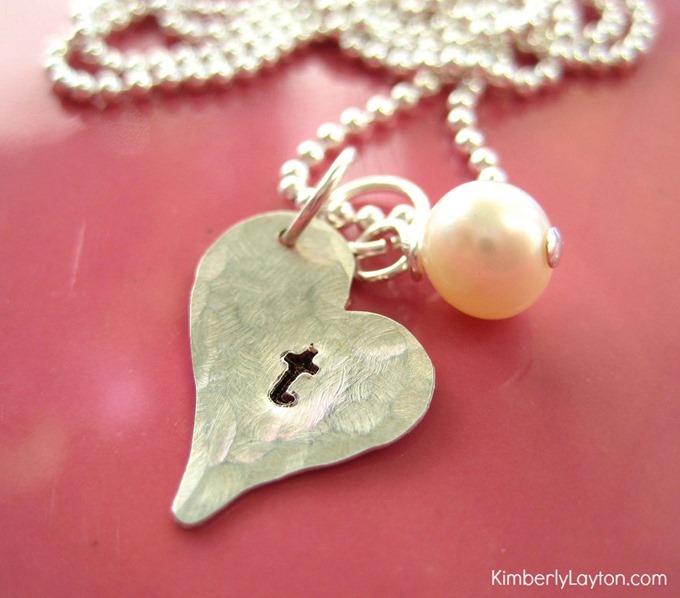
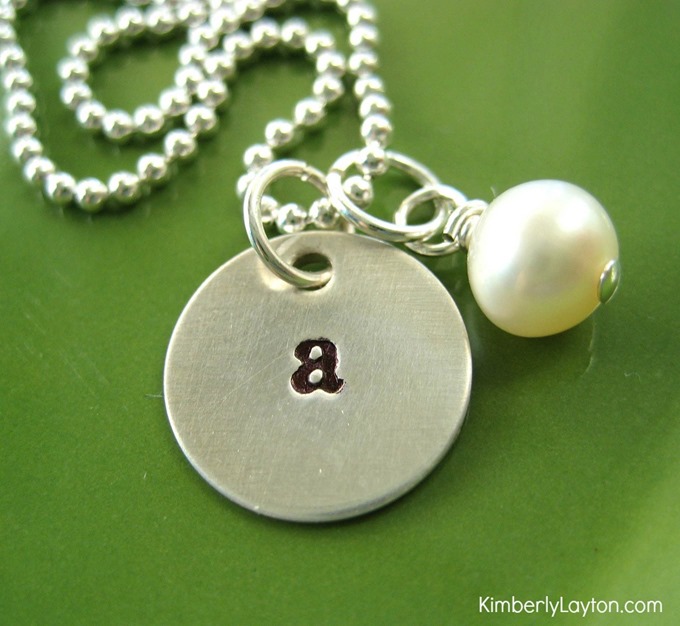
DIY Tutorial for Hand Stamped Jewelry by Kimberly Layton

These are Sterling Silver and made to be treasured for years and years!

Hand Stamped Necklace Tutorial by Kimberly Layton

Everyone loves them…even teenage girls!  You have to make a batch to share with the ones you love.

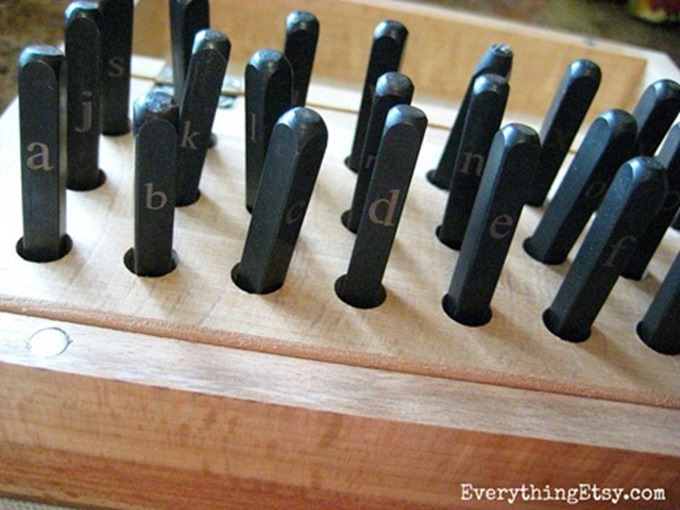
Hand-stamped-jewelry-metal-stamp-set_thumb

When I first started making these I had the hardest time in the world finding just the right supplies.  The size of rings and the thickness of blanks…yikes!  It was a total guessing game and I spent quite a bit to find the perfect supplies to create the look you see in the photos.

For the complete step-by-step tutorial {with lots of photos} visit my post on EverythingEtsy.com!

You’ll also find a list of supplies with links to make your shopping easy.  Using the right tools and supplies from the beginning will save you a ton of money!

Have fun!

~Kim

Filed Under: DIY, Featured Tagged With: DIY, diy gift, diy jewelry, hand stamped jewelry, handmade, initial necklace, mom, tutorial

DIY Citrus Soap

October 8, 2014 By Kim

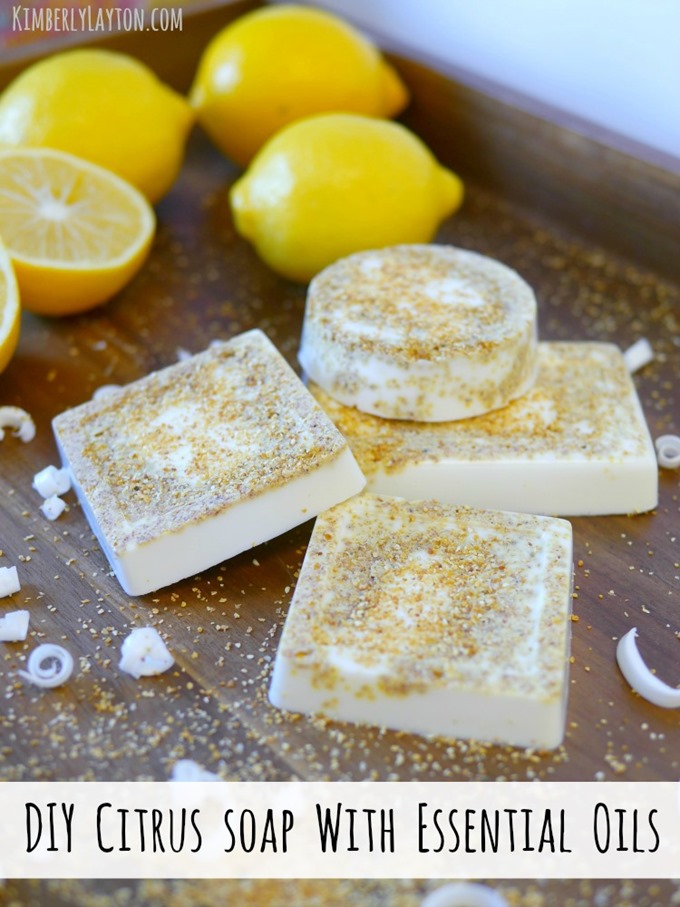
DIY Cirtus Soap by Kimberly Layton

Creating handmade soap is one of my favorite weekend DIY projects!

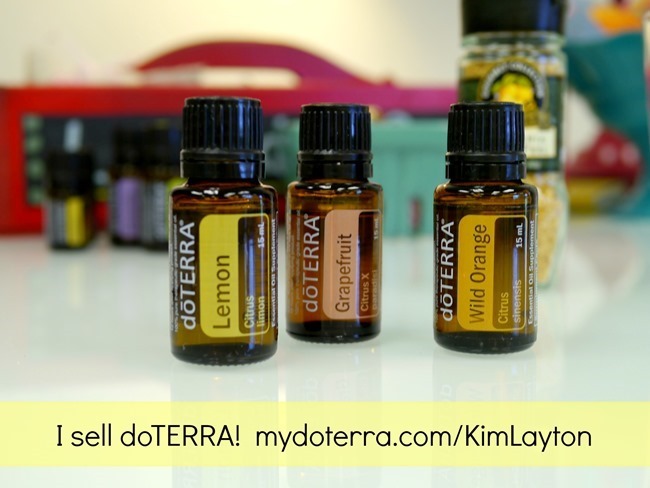
Most of the time you can start with a basic soap and add doTERRA Essential Oils and other natural ingredients to create something extra special.  Using essential oils can help you relax, ease sinus troubles, wake you up in the morning…it all depends on the oils you use.

Buy-doTERRA-Essential-Oils

I sell doTERRA, so please feel free to leave a question in the comments or email me.  I have been using it for my family for years.

You’ll need…

  • A glass container – I always use a large measuring cup
  • Shea Butter Soap or Goats Milk Soap
  • Lemon, Grapefruit and Wild Orange doTERRA Essential Oils {visit my shop}
  • Lemon Peel
  • Basic Soap Molds

You can use basic soap molds or any small plastic containers around the house that are slightly flexible.

Step-by-step photos can be found here.

Start by cutting up your base soap into cubes, and place them in your large glass measuring cup.  Microwave it 30 seconds at a time.  Take it out each time and stir.  Continue to heat it until the soap is melted.  Add 10 drops of Lemon, 10 drops of Grapefruit, and 10 drops of Wild Orange.  {you won’t believe how good it smells}

Stir it up gently.  Sprinkle Lemon Peel all over the bottom of your soap mold.  Slowly pour your soap mixture into the molds.

Let it sit for a couple hours undisturbed.  Pop them out of the molds and let them sit overnight.  This should make them hard enough to wrap up pretty.

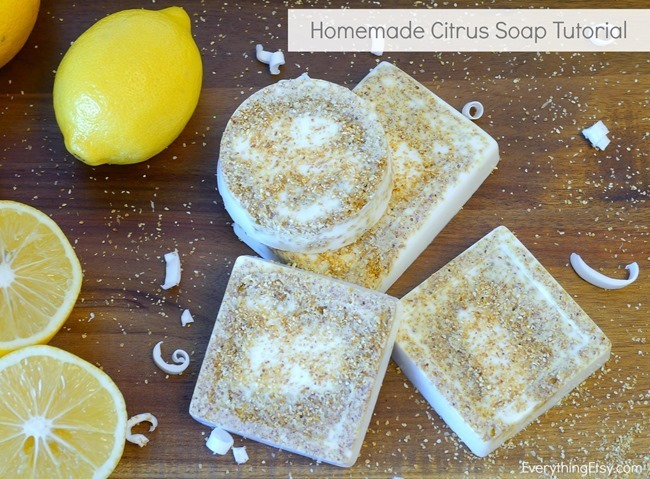
Homemade-Citrus-Soap-on-EverythingEtsy.com-Handmade-Gift-Idea_thumb

For the complete directions with beautiful step-by-step photos read my post on EverythingEtsy.com!

Have fun creating your own special scents!

~Kim

Filed Under: DIY Tagged With: diy gift, diy soap, handmade, recipe, tutorial

Primary Sidebar

Hi, I’m Kim!

Welcome to my blog about all things creative, Business Bliss Society, southern food, pottery and lots pretty things.

Don't forget to join my private Business Bliss Society group on Facebook!

For crafty posts and Etsy business tips check out my blog here... EverythingEtsy.com

  • Facebook
  • Instagram
  • Pinterest
  • Twitter

Subscribe Here:

Essential Oils Social Media Kit How to Start a Blog EverythingEtsy.com Start Selling Essential Oils Tutorials Gallery RemodelingGuy.net

Categories

Archives

Footer

Connect

I love to get to know my readers so leave me a comment on any post and you KNOW I'll get it!

I'm also at EverythingEtsy.com every day and HandmadeandCraft.com as well as a few other scattered places.

Feel free to contact me at Kim@KimberlyLayton.com!

  • Facebook
  • Instagram
  • Pinterest
  • Twitter

Copyright © 2025 · Kimberly Layton · All Rights Reserved · Contact Me | Privacy